Let’s talk about how to validate a locator.
1. Starting validation #
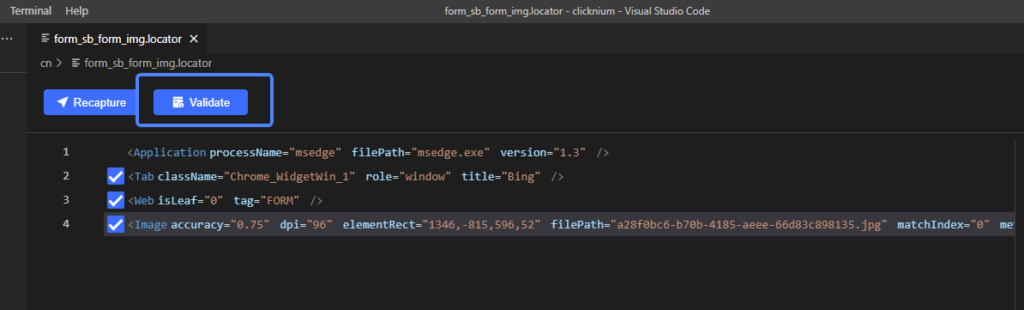
To start validating, go to the locator viewer tab in Visual Studio Code and click on “validate”.
2. Locator validation #
2.1 Single locator #
Once you click on “validate”, you will get a validation result. If you need to refer to this result, please see the section on ” Validation result ” below.
2.2 Single locator with variables
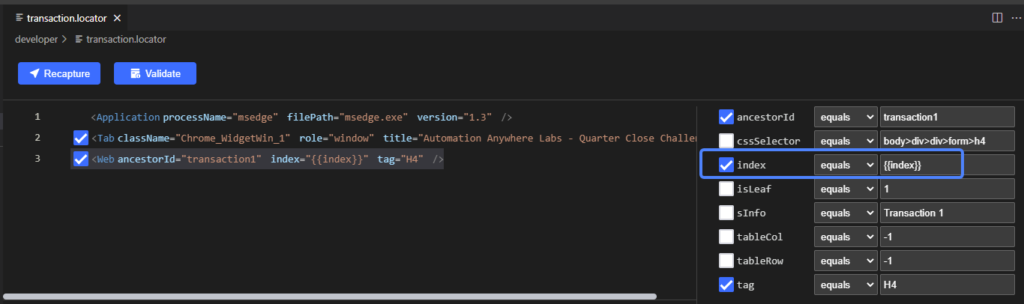
If you have a single locator with variables, you can still validate it by following these steps:
- Capture the locator and modify it with variables. For more information on variables, please refer to the ” Parametric Locator” section.
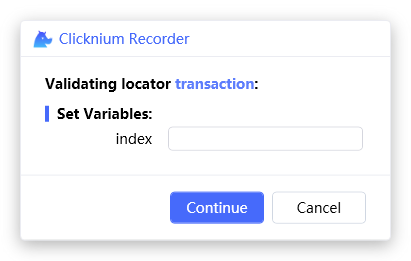
- Click on “validate”. A pop-up window will appear.
- Input the value of the variable and click on “continue”.
- Refer to the “Validation result” section for the validation result.
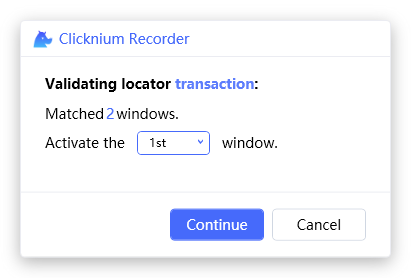
Continue2.3 Single locator with multiple windows #
If you have a single locator that can be found in multiple windows, you can validate it by following these steps:
- Click on “validate”. A pop-up window will appear.
- Select the correct window by choosing the index of the window and click on “continue”.
- Refer to the “Validation result” section for the validation result.
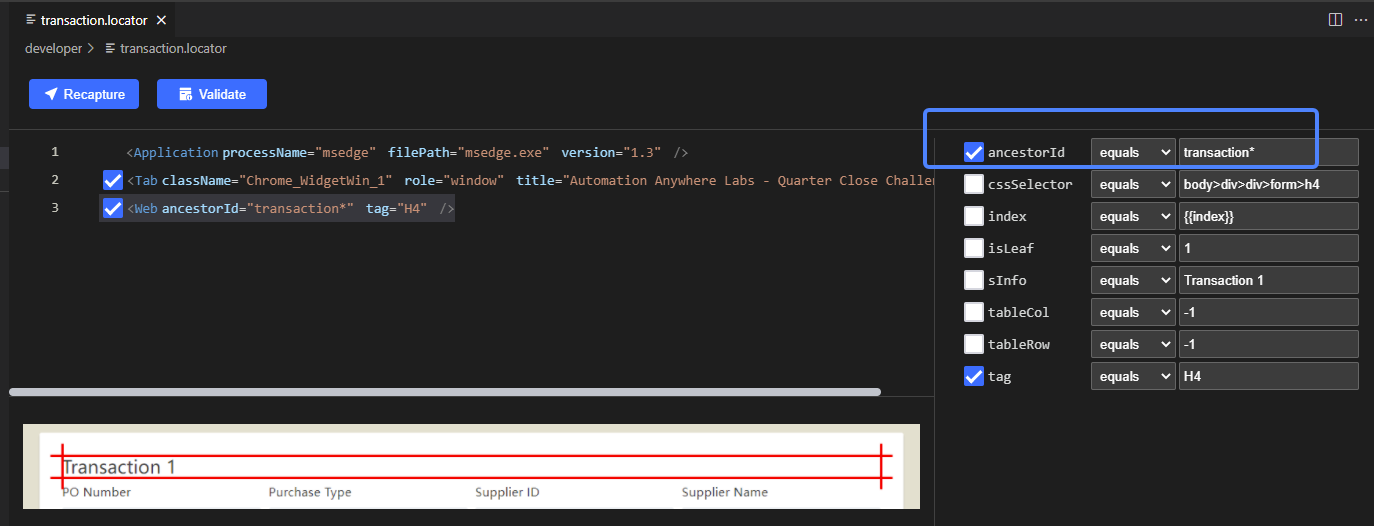
2.4 Multiple similar locators #
If you have multiple similar locators, you can validate them by following these steps:
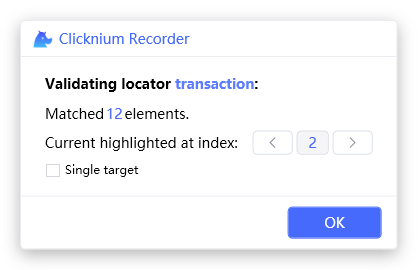
- Capture the locator and modify it with a wildcard.
- Select the index of the element and click on “OK”.
- Refer to the “Validation result” section for the validation result.
3. Validation result #
If validation is successful, the UI element will be highlighted, and the locator viewer tab in Visual Studio Code will display the correct information as below:

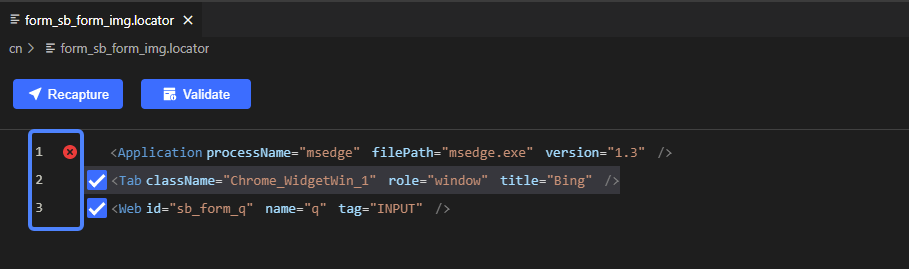
If validation fails, the locator viewer tab in Visual Studio Code will display the error message as below: